
The Sovereign Communication Platform
Securing Communications for Government & Sensitive Businesses


Ergonomic by Design, Complete in Features, Augmented by AI

Enterprise Webinars

Global Video Conferencing

The Architecture of Absolute Trust

API-Ready
Robust, documented APIs ready to integrate directly into your existing tools and systems.
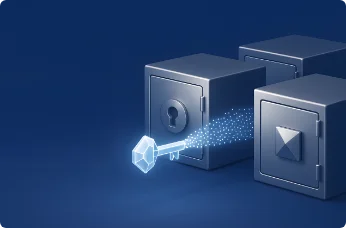
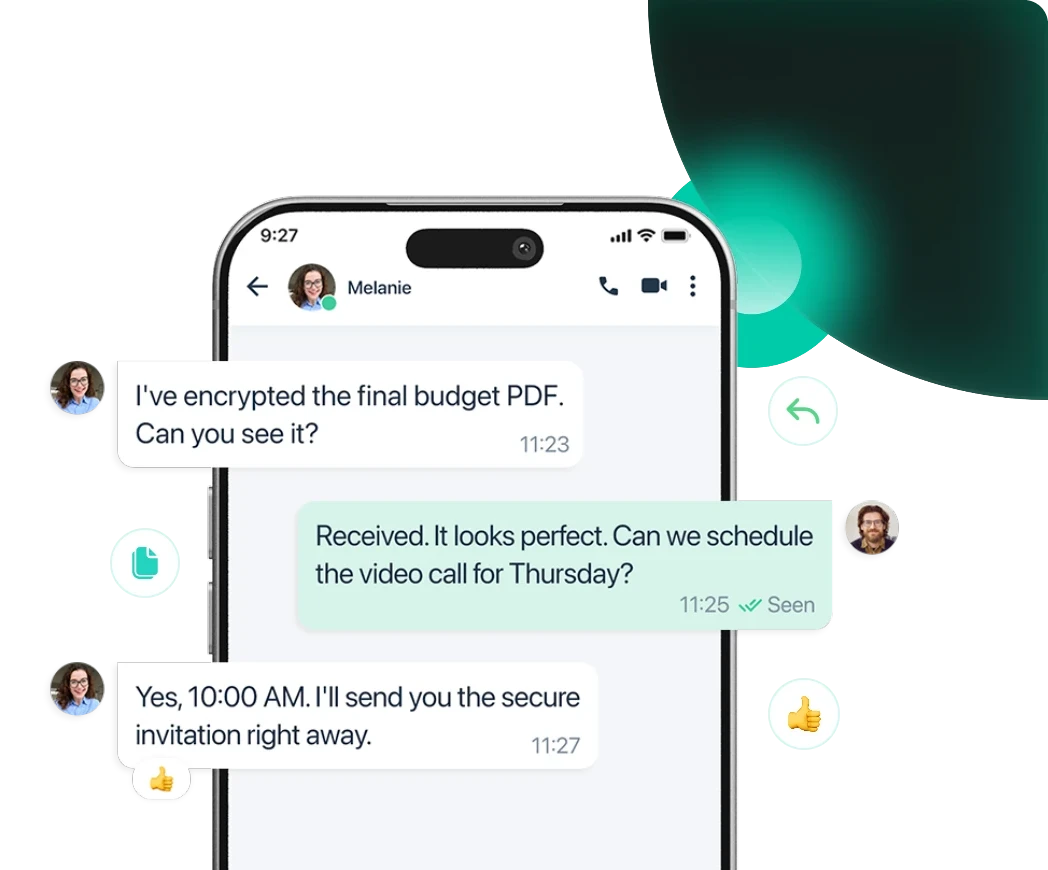
End-2-End Encryption
Your data is encrypted end-to-end: only you hold the keys — no data is accessible on the server side or by the vendor.

Infinite Scalability
A robust, high-performance engine built to protect the confidentiality of thousands of concurrent users.


Available on all platforms


Move to genuinely sovereign communications.
Take back control of your communications. Our experts assess your environment and deliver a sovereign, fully tailored solution — deployable wherever you need it.
Contact Us